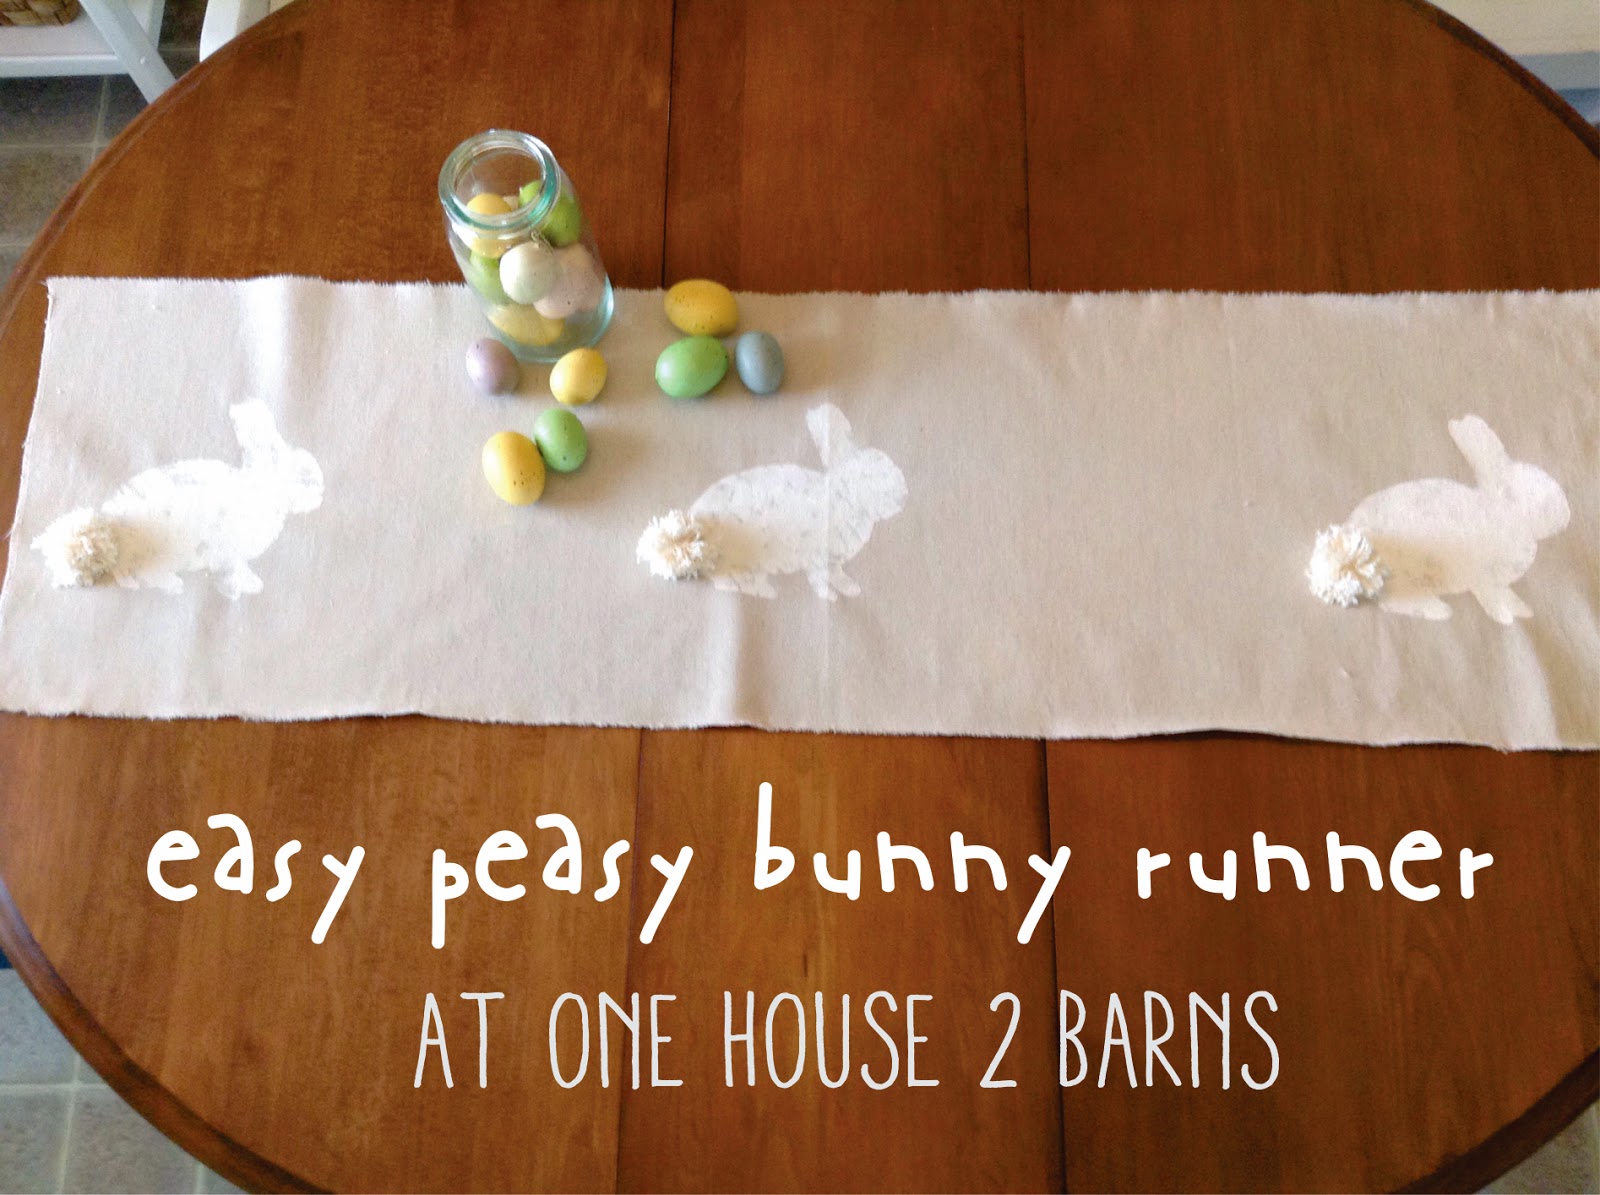
Easy Peasy Bunny Runner
Happy Tuesday everyone. The snow is melting (yay!) and the kids and I are getting so anxious for spring- we were counting down the days at the bus stop this morning. Ten days people!!!!

via
Today I'm going to share with you a super easy DIY to get a jump (wah wah) on your Easter decorating. Heck, you could just use it for spring too, it's not just for Easter. Bunnies are cute. The end.
I made one of these runners last year when I saw something similar over at Electically Vintage

and I was really happy with how it turned out- now, of course I CAN'T FIND IT to shoot a picture of it!
My mom had wanted one, so I thought I'd make it for her and show you how at the same time.

For this runner I used drop cloth. Yup, just regular old painter's drop cloth. NOT the kind with the plastic backing folks- read the package and make sure it's 100% cotton drop cloth. I grabbed mine at Canadian Tire- I was pretty stoked to find it there, I had to get it at Home Depot before and that was not right around the corner. (Forgot to mention- I pre-washed the drop cloth last night in hot water, to soften it a bit and to get rid of any chemical smell that might be there) The one I grabbed the other day is a 4' x 12' size- so for my mom's table, I figured 4 feet would be long enough. It won't have an overhang, but with her table that's totally fine. Bonus - if I kept it at 4 feet, the ends are finished. Boom.


I measured out what I wanted the width to be- right around 14" is what I decided looked right. I marked it and started a cut with scissors and then- why I love drop cloth- just rip that sucker and it will tear in a straight line.

Next- run the iron over it and get all those pesky wrinkles out. You're not going to have the chance to do it again, so if you don't like wrinkles (my mom HATES them)- iron it.

You can also get the scissors out at this point and trim the little threads that might be sticking out. This is a no-sew runner- so clean up the edges as much as you like.

In the meantime, I printed a bunny shape, just on regular old paper.

Then I just cut out the shape to make a stencil. Nothing fancy- just regular paper and scissors. My bunny is just shy of 7" x 7"- but you can make it whatever size you like. You could do a whole pile of teeny tiny ones- that would be pretty cute too.

Then I grabbed some white craft paint and just brushed and dabbed it on with a foam brush. Put something underneath the cloth, just in case it bleeds through- it shouldn't- but I don't want you to blame me when your table has white paint all over it, I get in enough trouble here with my craft adventures. (Because I didn't hem this, I'm not planning on washing it. It's just decorative. If you want to make it a functional piece, hem up the sides and put a fabric paint additive in your paint- I've seen it at Walmart and Michael's)


With the length of mine, and my aversion to even numbers in design, I put three little dudes on this runner.

Now you could just leave it like that- it's pretty darn cute that way. But if you know me, I can't leave well enough alone. You gotta add a fluffy tail- am I right?

Pom poms it is! Just in case you forgot how to make them- here's a quick refresher.
Wind your yarn around a fork- yup a fork.

Once it's pretty thick, slide the loop off the fork.

Cut a piece of yarn, tie it in the middle.

Cut through the loops on each end.

Looks crazy? Give it a good haircut.

Tada! Pom poms.

Now, get out the trusty old glue gun. (Being a non-sewer, this is my jam)

Flatten one end of the pom pom so the glue will have a place to sit- then turn it over and glue it right onto that bunny's rear.


Cute and easy, isn't it?


Until next time- Peeps and love my friends. <3

Comments