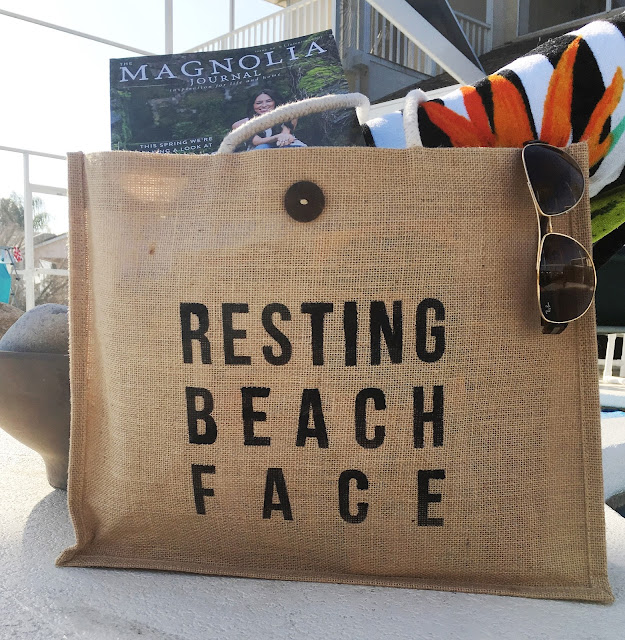
beach tote with sass
Hey there friends- so I have warm sunny weather on my mind. Swimming, ice cream, flip flops, ice cream..... all the warm summer-y things.
I know that summer is still a few months away- but spring is here (ish) and spring break is summer's third cousin twice removed. And sometimes you get lucky enough to enjoy those summer things early!
In case you do- I have a fun little DIY for you.
A beach tote!
Now if you know me, or are starting to pick up on my vibe- you'll know I have an affinity for puns. Puns give me life. I also am a little sassy- just a little 😉 And a punny, sassy beach tote- yep, that's for me.
We start with a burlap-y tote from the dollar store (!) this one has the interior waxed or covered with something, so it would work well with damp towels and suits. This one measures 18 inches by 14 inches- it's a pretty perfect size.
Figure out your wording - mine is Resting Beach Face (cause, of course) - and your layout. I measured my area below the button to the inside edge of the border- it was about 11" x 14.5"
If you have a Cricut- making a stencil is easy- I don't but we do have a sign business, so I have a large vinyl cutter and use that- but you can also print it on a sheet of paper and cut the letters out with an exacto knife- which is what I did pre-cutter days.
Use a block-y font for something like this- Arial or Arial Black, Helvetica- the font I used is Bebas.
Yes, I know that script is prettier, but it's harder to control the stencil and get nice crisp lines.
Two of my favourite tools- DecoArt acrylic craft paint and a high density foam mini roller.
Easy to clean up and available in a rainbow of colours- I love this paint. I have way, WAY too much of it. It's perfect for most of the little - and some not so little- projects I do. And these rollers are great. No brush strokes, and lays the paint on nicely in light smooth coats. PS- I get these at the dollar store too!
Peel your stencil off- go on an angle back towards yourself. Just trust me on this.
And- Voila!
A fun tote- that you made yourself. Personalize it up however you like- add some pompoms maybe, or a cute little tag. Whatever makes you smile.
Then, toss in some towels, the Magnolia Journal, some sunscreen - put on your sunnies, and get on with your bad self.
Peace out beaches ✌
Laura


Comments